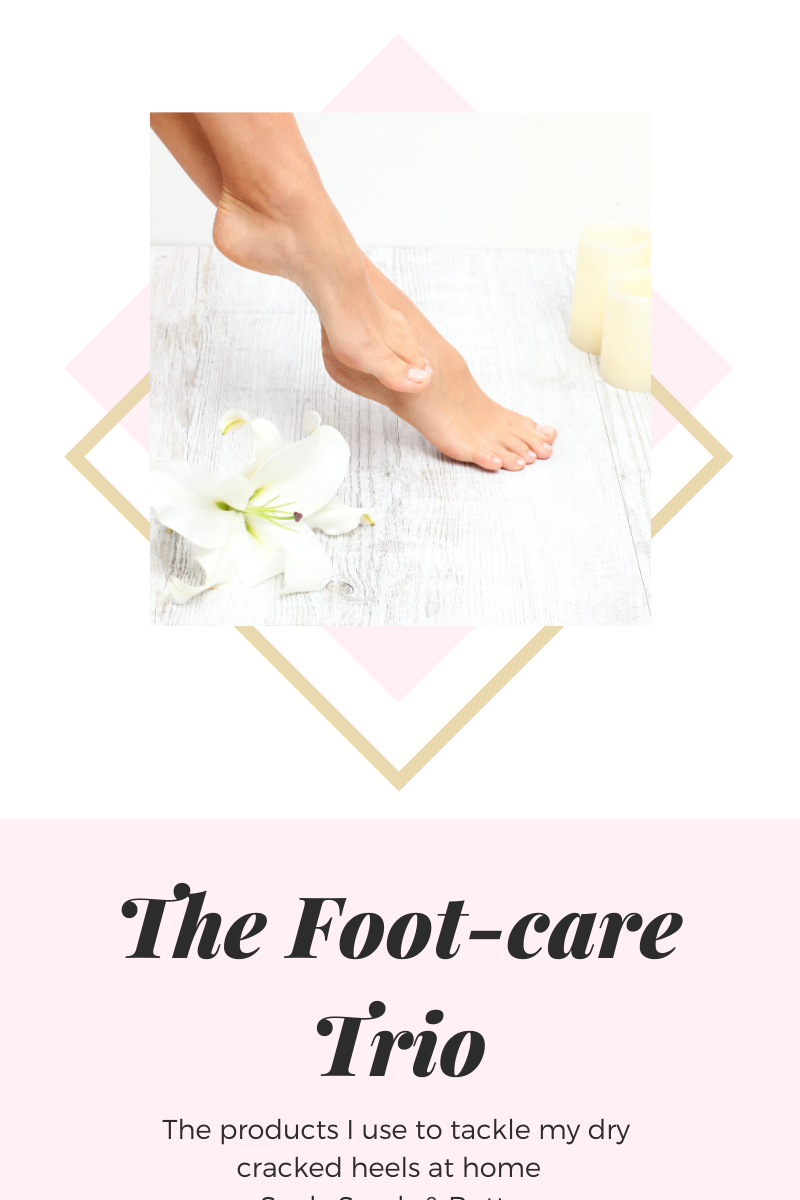
You will never find my feet in a magazine or featured as the picture of perfection in a pedicure advertisement - you are more likely to see my feet as the before photo - the one with dry flaky skin and severely cracked heels (thanks to my lovely thyroid condition).
Taking care of my feet is a big priority since if I don't - it hurts! As a professional aethetician and massage therapist, having really terrible feet is not cool!
In my opinion, there are very few things in life that top getting a nice pedicure in a spa! (and with spas being closed for the last 3 months - my feet are not in good shape at all!!) But even getting monthly pedicures is not enough to keep my feet in sandal worthy form, so at home foot care is a must!
My at home pedicure to get my feet spruced up includes a soak, pedi-paddle, scrub, foam, butter and socks. Being consistent makes a huge difference! Doing the full pedicure at home 2-3 times a month plus applying the butter and socks every night, will make my feet almost picture worthy.
Home Pedicure:
Soak (10-15 minutes) - softens hard callous making it easier to shape. I include essential oils meant to kill fungus and bacteria to prevent skin and toe nail infections. (At any given point in our lives - 85% of us will have a contagious infection in our feet - its safer to assume that you could have one rather than assuming you don't!)
Pedi-paddle - using a pedi-paddle to shape the callous on your feet makes your feet not only look better but feel better. Make sure to use the paddle wet to avoid causing a friction burn and also be sure not to remove too much callous and leave your feet pink and sore. Your body builds callous to protect against friction - if you remove it your body will just build even more. If you shape the callous - meaning smooth it out and remove overgrowth so that its to the same level as the rest of your callous you may rebuild callous afterward - but not nearly as quickly or as painful. I use two different ones - The Wet Ped - which is a metal scraper for more course shaping and a wooden two sided pedi-paddle with a course and soft side for finer shaping.
Nail & Cuticle prep - Toe nails should be cut straight across with only the very corners rounded off. This helps avoid ingrown toe nails and painful sides pushing in. Gently push the cuticle back but only if needed and only clip dead skin off from around the toes and cuticle. This is extremely easy to tell because dead skin turns white when its soaked - so if its pink - do not clip - if its white - snip away! Gently, with the lightest nail file, buff the tops of the nail plate. By buffing the top of the nail plate we are smoothing out ridges and cleaning anything that is stuck on to the nail plate. By buffing the ridges so that the nail plate is smooth, there is less moisture loss from the nails, which will help keep them healthy.
Scrub - helps to soften dry flaky skin from the areas that you can't use your pedi-paddle on, helps cleanse the nail beds and in-between the toes where dead skin and dirt can build up and helps even out the pedi-paddle scrapes.
Foam - For soft silky feet you need both oil and water. Foot foam adds water hydration to your skin and should be applied first, but followed by an oil based product to seal the hydration in. This is my favorite foot foam- Footlogix cracked heel formula - and can only be bought from spas and foot care professionals.
Butter - oil is needed to moisturize and seal in hydration to the skin. It also helps to keep callouses soft to prevent callouses from building up and cracking.
Socks - the more natural the fabric the better - cotton being my favorite - helps keep the moisture on your feet giving it time to absorb.

Foot Soak
Tired Feet Essential Oil Blend
Peppermint 6 drops
Eucalyptus 6 drops
Black Spruce 4 drops
Douglas Fir 4 drops
Rosemary 2 drops
Frankincense 1 drop
To get these oils and your doTERRA membership - click here.
Ingredients
2 Cups Epsom Salts
1/4 Cups Baking Soda
Directions
1.) Combine the Epsom salts and baking soda in a medium mixing bowl.
2.) Add the essential oils to a small 5/8 dram vial and gently swirl them together.
3.) Add the essential oil blend to your dry mixture about 5 drops at a time, spread throughout the bowl (not dropped all in one spot) mix thoroughly before adding the next 5 drops until vial is empty.
4.) Transfer into an air sealed container for storage.
Use 1/4 to 1/2 cup for in water no warmer than 104F for 15-20 minutes.
Foaming Foot Scrub
Ingredients
25 drops Citrus Twist Essential Oil Blend
2.5 oz Foaming Bath Butter
1.5 oz finely ground coffee
1 oz White granulated sugar
0.25 oz Olive Oil
0.06 oz Geogard preservative
Directions
1.) Using your hand held mixer, whip your foaming bath butter until fluffy.
2.) Add the olive oil and continue to whip.
3.) Add your dry ingredients(baking soda, apricot shell and sugar) and continue to whip.
4.) Add your Citrus Twist Essential Oil Blend and preservative and continue to whip.
5.) Transfer your scrub to an air sealed container.
To use: You need less than 1 tsp for both feet. Add water and scrub your feet. Rinse with water when finished scrubbing. This Product will lather.
Silky Soft Foot Butter
Relaxing Foot Essential Oil Blend
Rosemary 18 drops
Lavender 6 drops
Peppermint 4 drops
To get these oils and your doTERRA membership - click here.
Ingredients
heated phase
25 g Mango Butter
50 g Shea Butter
5 g cornstarch
cool down phase
2 g Avocado Oil
0.25 g Vitamin E oil
Relaxing Foot Essential Oil Blend
Directions
1.) Measure the mango butter, shea butter and cornstartch into a heat resistant pyrex measuring cup and place into a heat bath until all ingredients are completely melted. (I used a medium saute pan with a silicone heat resistant trivet in the bottom for the pyrex cup to sit on). This will take approximately 20 minutes.
2.) Measure the olive oil, vitamin e oil, and essential oils and combine. set to the side.
3.) Prepare an ice bath in a medium mixing bowl. Place the melted heated phase into the ice bath, making sure to stir and scrap down the sides constantly.
4.) After a minute, add in the cool down phase into the heated phase. Continue to stir constantly.
5.) Continue to stir in the ice bath until you reach a light trace - when you drizzle the mixture over the top, the drizzle remains for an instant. Once this occurs, you can transfer the mixture into an air tight container.
6.) Leave this mixture for an hour with the lid off to set up before use.
To use: use a small amount to massage into feet. (LESS IS MORE!!)



Danke! Ich bin froh, dass es dir gefallen hat!
Muchas gracias! Utilizo fotos de archivo y plantillas en Canva para crear los graficos de mi blog, fotos de archivo de aceites esenciales de One Drop y algunas fotos de archivo do Word Press para mis encabezados
Danke! Ich verwende Canva, um meine Blog-Grafiken zu erstellen, Fotos aus einem Tropfen fur atherische Ole und Fotos aus WordPress fur meine Header-bilder.
Danke!
Muchas gracias por tus amables palabras!
Thank-you so much for visiting and taking the time to comment! I am a Registered Massage Therapist and Advanced Medical Aesthetician so a lot of my information comes from my education and experience. Good luck on your mission!
Thank-you for visiting and taking the time to comment.
Thank-you for visiting and commenting. I’m glad you are enjoying my articles.
Thank-you.
I am afraid I am no webmaster – godaddy is to thank for that.
I’m glad you have enjoyed the content!
My apologies, I do not control the commenting application from word-press, so I don’t have the ability to remove you. However, you can click “unsubscribe” at the bottom of the email and it will take you off the notification list.
If you would like to be notified when new articles are posted, you can sign up for my newsletter here:
https://view.flodesk.com/pages/5ec6e48df0415b0026baa302
Hi Scott,
I apologize as I don’t have the ability to remove people once they have clicked the notify me button. However, you can remove yourself by clicking the “unsubscribe” link at the bottom of the notification emails.
If you would like to be notified when new content is published on this site, you can join my newsletter here: https://view.flodesk.com/pages/5ed5ec30ade44a0026fc8436
Thank-you so much for visiting my blog and commenting! I’m glad to hear that you have enjoyed the content!